

Last week I was searching my mind for quick, inexpensive gifting ideas for several people on my list. My crochet schedule is pretty full with several WIPS right now, so I was looking around for inspiration.
I found two boxes of these gold colored plate chargers in my Christmas stuff. I bought them at an after-Christmas sale a couple of years ago for $2 per box. With no idea, at the time, what I would do with them, I had simply stuck them in a box.

Expanding on an idea I had brewing, I took a trip to Hobby Lobby for plain white foam board and Michaels for scrapbooking stickers and pretty paper. Lucky me, everything was on sale!!!

I found the rest of my goodies at the Dollar Tree.

Santa Head Ornaments - $1 each

Velvet bows - 18/$1

Decorative Picks - 2/$1
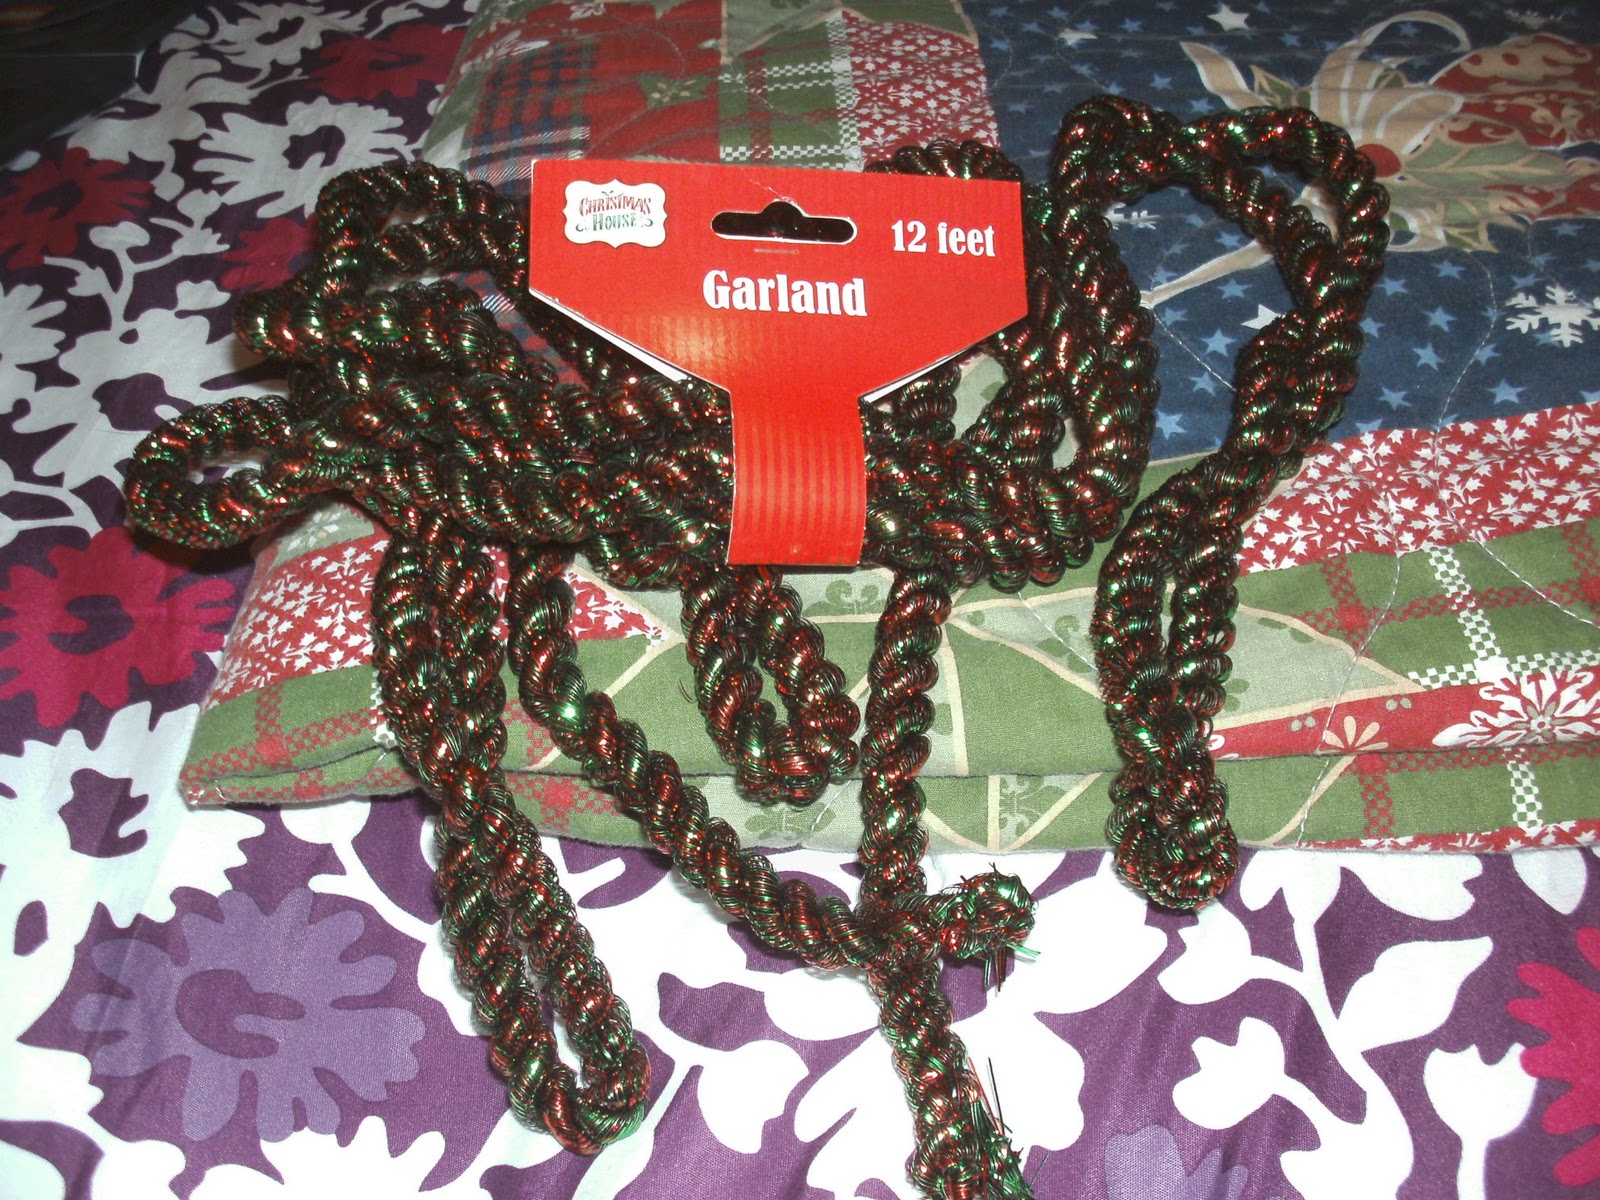
Green & Red Garland - $1

Wire-edged Ribbon - $1 each
So, great... shopping is done. What do I do with all this stuff? Well, the first step was to send my husband out to the workshop with the plate chargers and a drill. Here is what he brought back to me.


Close-up of the holes
For each charger, I then used a hobby knife to cut a circle the size of the center of the charger out of the foam board. I used a small piece of sand paper to sand down the rim of the foam board circles to make them nice and smooth. Then I traced the foam circle onto the back of a piece of scrapbooking paper and cut it out just a little outside the circle. I applied Mod Podge to the foam circle with a foam paint brush and smoothed on the paper circle. Then I trimmed up the paper with my scissors.
Now came the difficult part. I got my husband to help me hold the foam circle onto the charger while I used a punch tool to make holes through the foam from the back of the charger. This ensured that the holes in the charger and the holes in the foam matched up. (The foam does not want to stay put when punching the holes so the help holding it was essential.)
Next, I used a needle and heavy thread to sew my Santa head ornament and decorative pick onto the foam board. (It doesn't matter what the back of the foam board looks like because it isn't going to show). With that done, I used stickers to decorate the edges of the charger.
I then cut a length of wire edged ribbon and poked one end through the charger and the foam circle in each side circle. I tied knots on the decorated side to keep the ribbon in place and trimmed it close. I took the center top and ran it up through the top circle in the charger for a hanger.
Next, I hot glued the garland around the foam circle.
Now, in most cases, I covered the ribbon knots with a velvet bow and hot glued it on. With all of this done, I finished each one off slightly differently, using hot glue as needed for positional purposes. Once satisfied with the results, I spray painted each one with a clear gloss spray paint to help secure the stickers and add a pretty shine.
What do you think of my results?


What a beautiful project. I bet these will be a Christmas hit.
ReplyDeleteWhat a clever use of craft supplies! Love the Santa head & will check our Dollar Tree to see if they have any left. I have a crocheted Santa that requires a full doll, but I think I could adapt it for a head only! Your blog is off to a great first start and I enjoy your writing style! It makes a person feel like they are sitting down to the kitchen table with a cup of coffee to hear about your latest crafting creation!
ReplyDelete